Building a mechanical keyboard
A friend recently told me he ordered parts for a split mechanical keyboard. I have been using a split keyboard for several years (the Kinesis Freestyle 2) and like the experience. I was looking for a new split, this time a mechanical keyboard, but it seemed all good options (that is, without awkward thumb keys) are custom builds. So I jumped on the opportunity to build one with him.
Parts🔗
I ordererd the following:
- Nyquist 60% ortholinear PCB and plates from keeb.io
- Cherry Brown switches
- DSA keycaps from pimpmykeyboard.com
- Fancy TRRS and USB-C cables
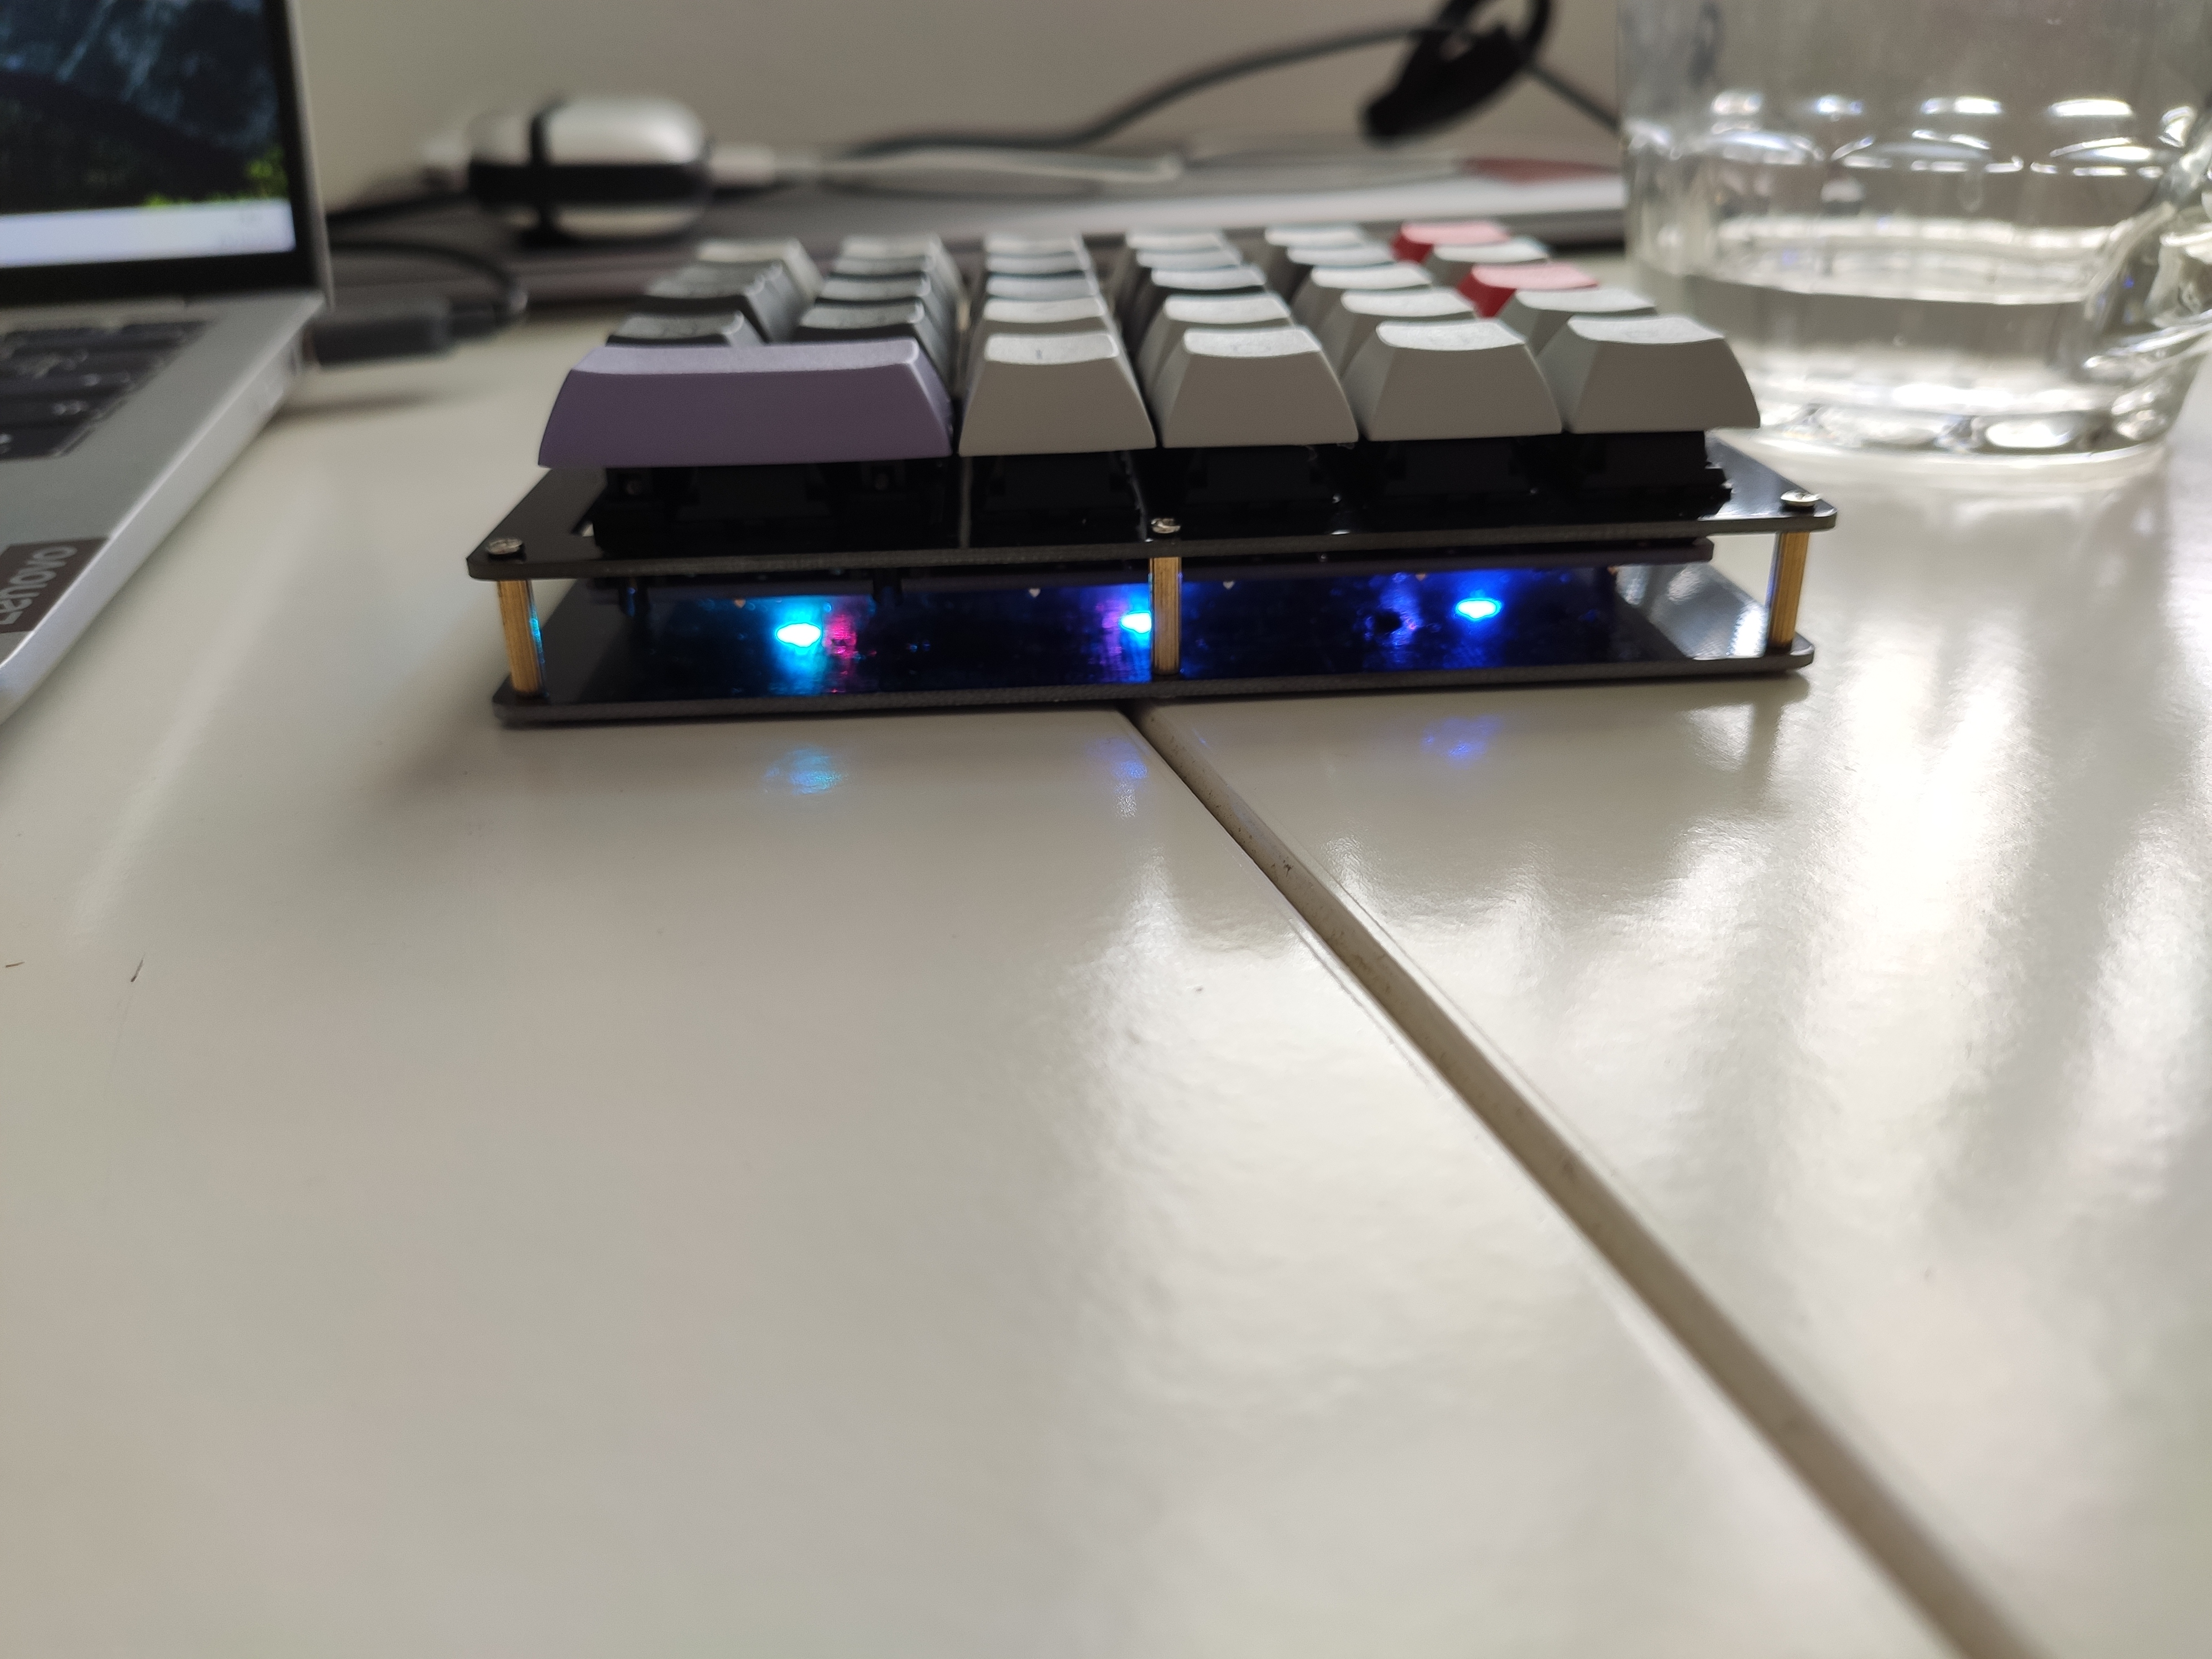
The assembly process, with the help of my friend, was pretty simple. We installed the space bar stabilizers, soldered the switches and assembled the top and bottom plates.
Designing a layout🔗
Due to the keyboard being a 60% keyboard, and missing some keys, several layers are needed. Here are my layers for the Nyquist:

Flashing the firmware🔗
The hardest part was surprisingly flashing the firmware, which is why I decided to document it here.
- Install qmk
- Build your keymap on https://config.qmk.fm/
- Download the keymap json and save it in the qmk_firmware folder (the qmk installation location).
- Generate the firmware by running the following command:
$ qmk compile mylayout.json
This copies the firmware into qmk’s firmware folder. 5. Reset your keyboard. 6. Flash the firmware:
$ sudo make keebio/nyquist/rev3:mylayout:flash
The end result🔗
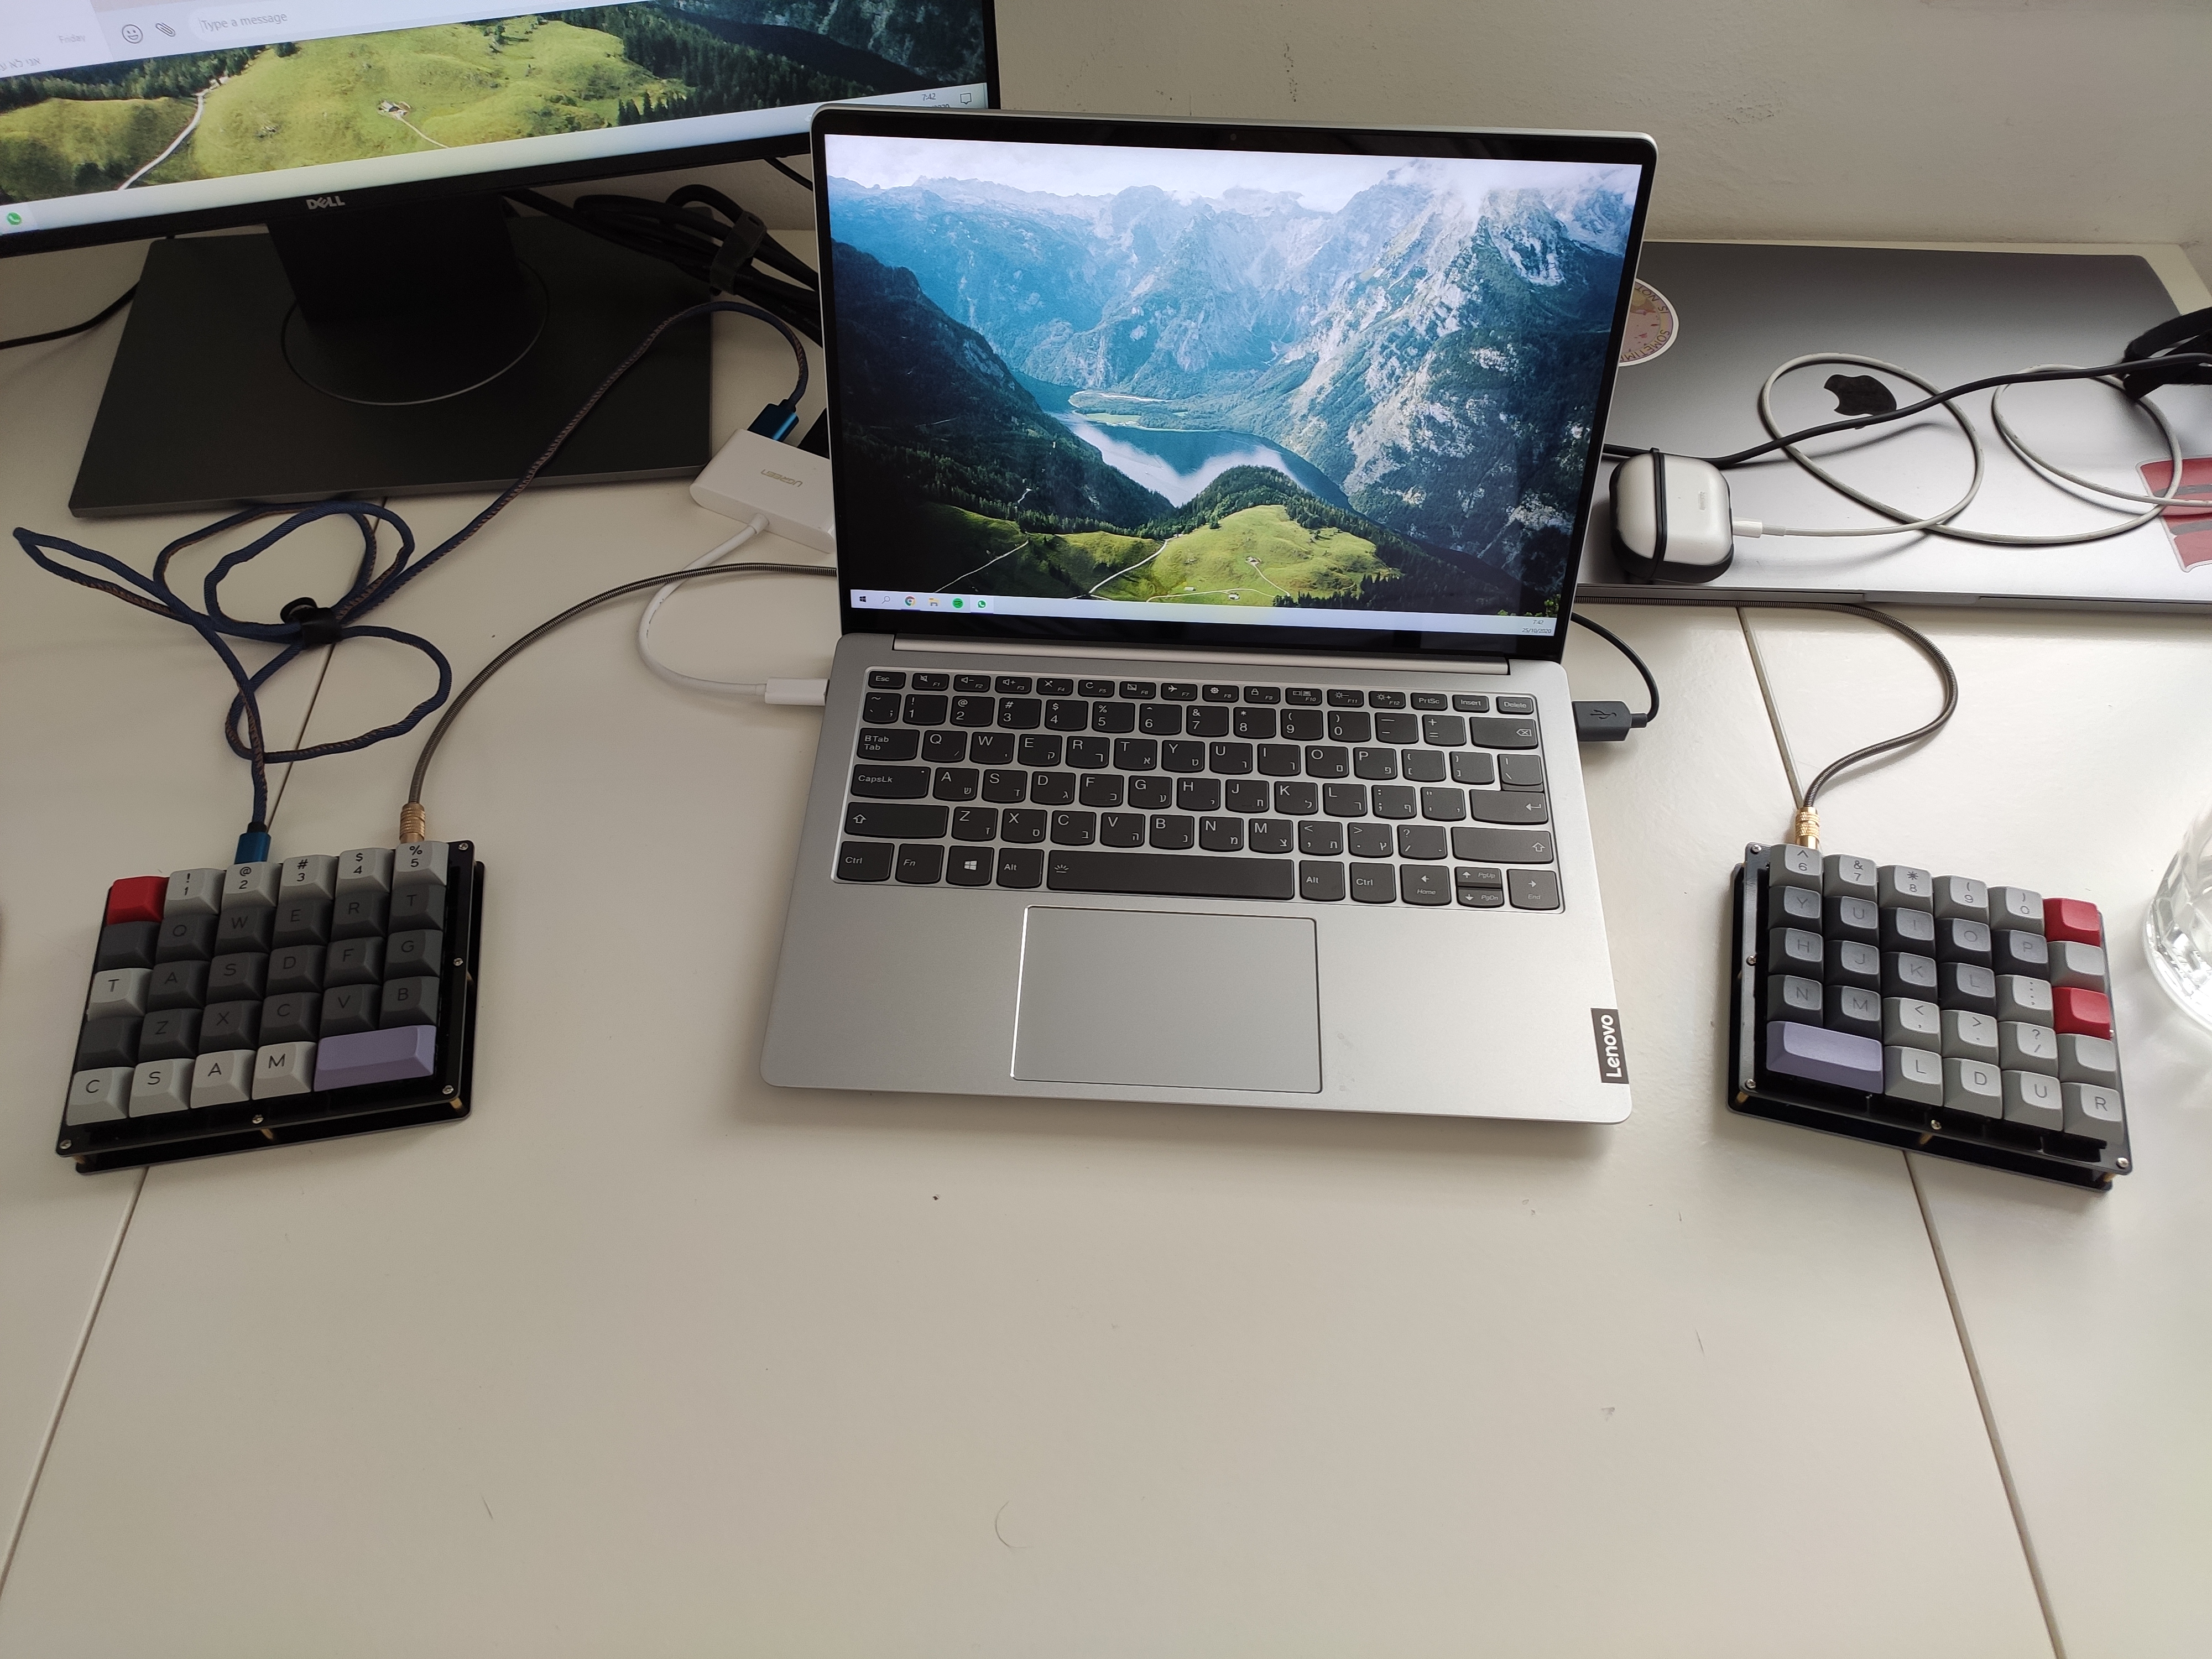
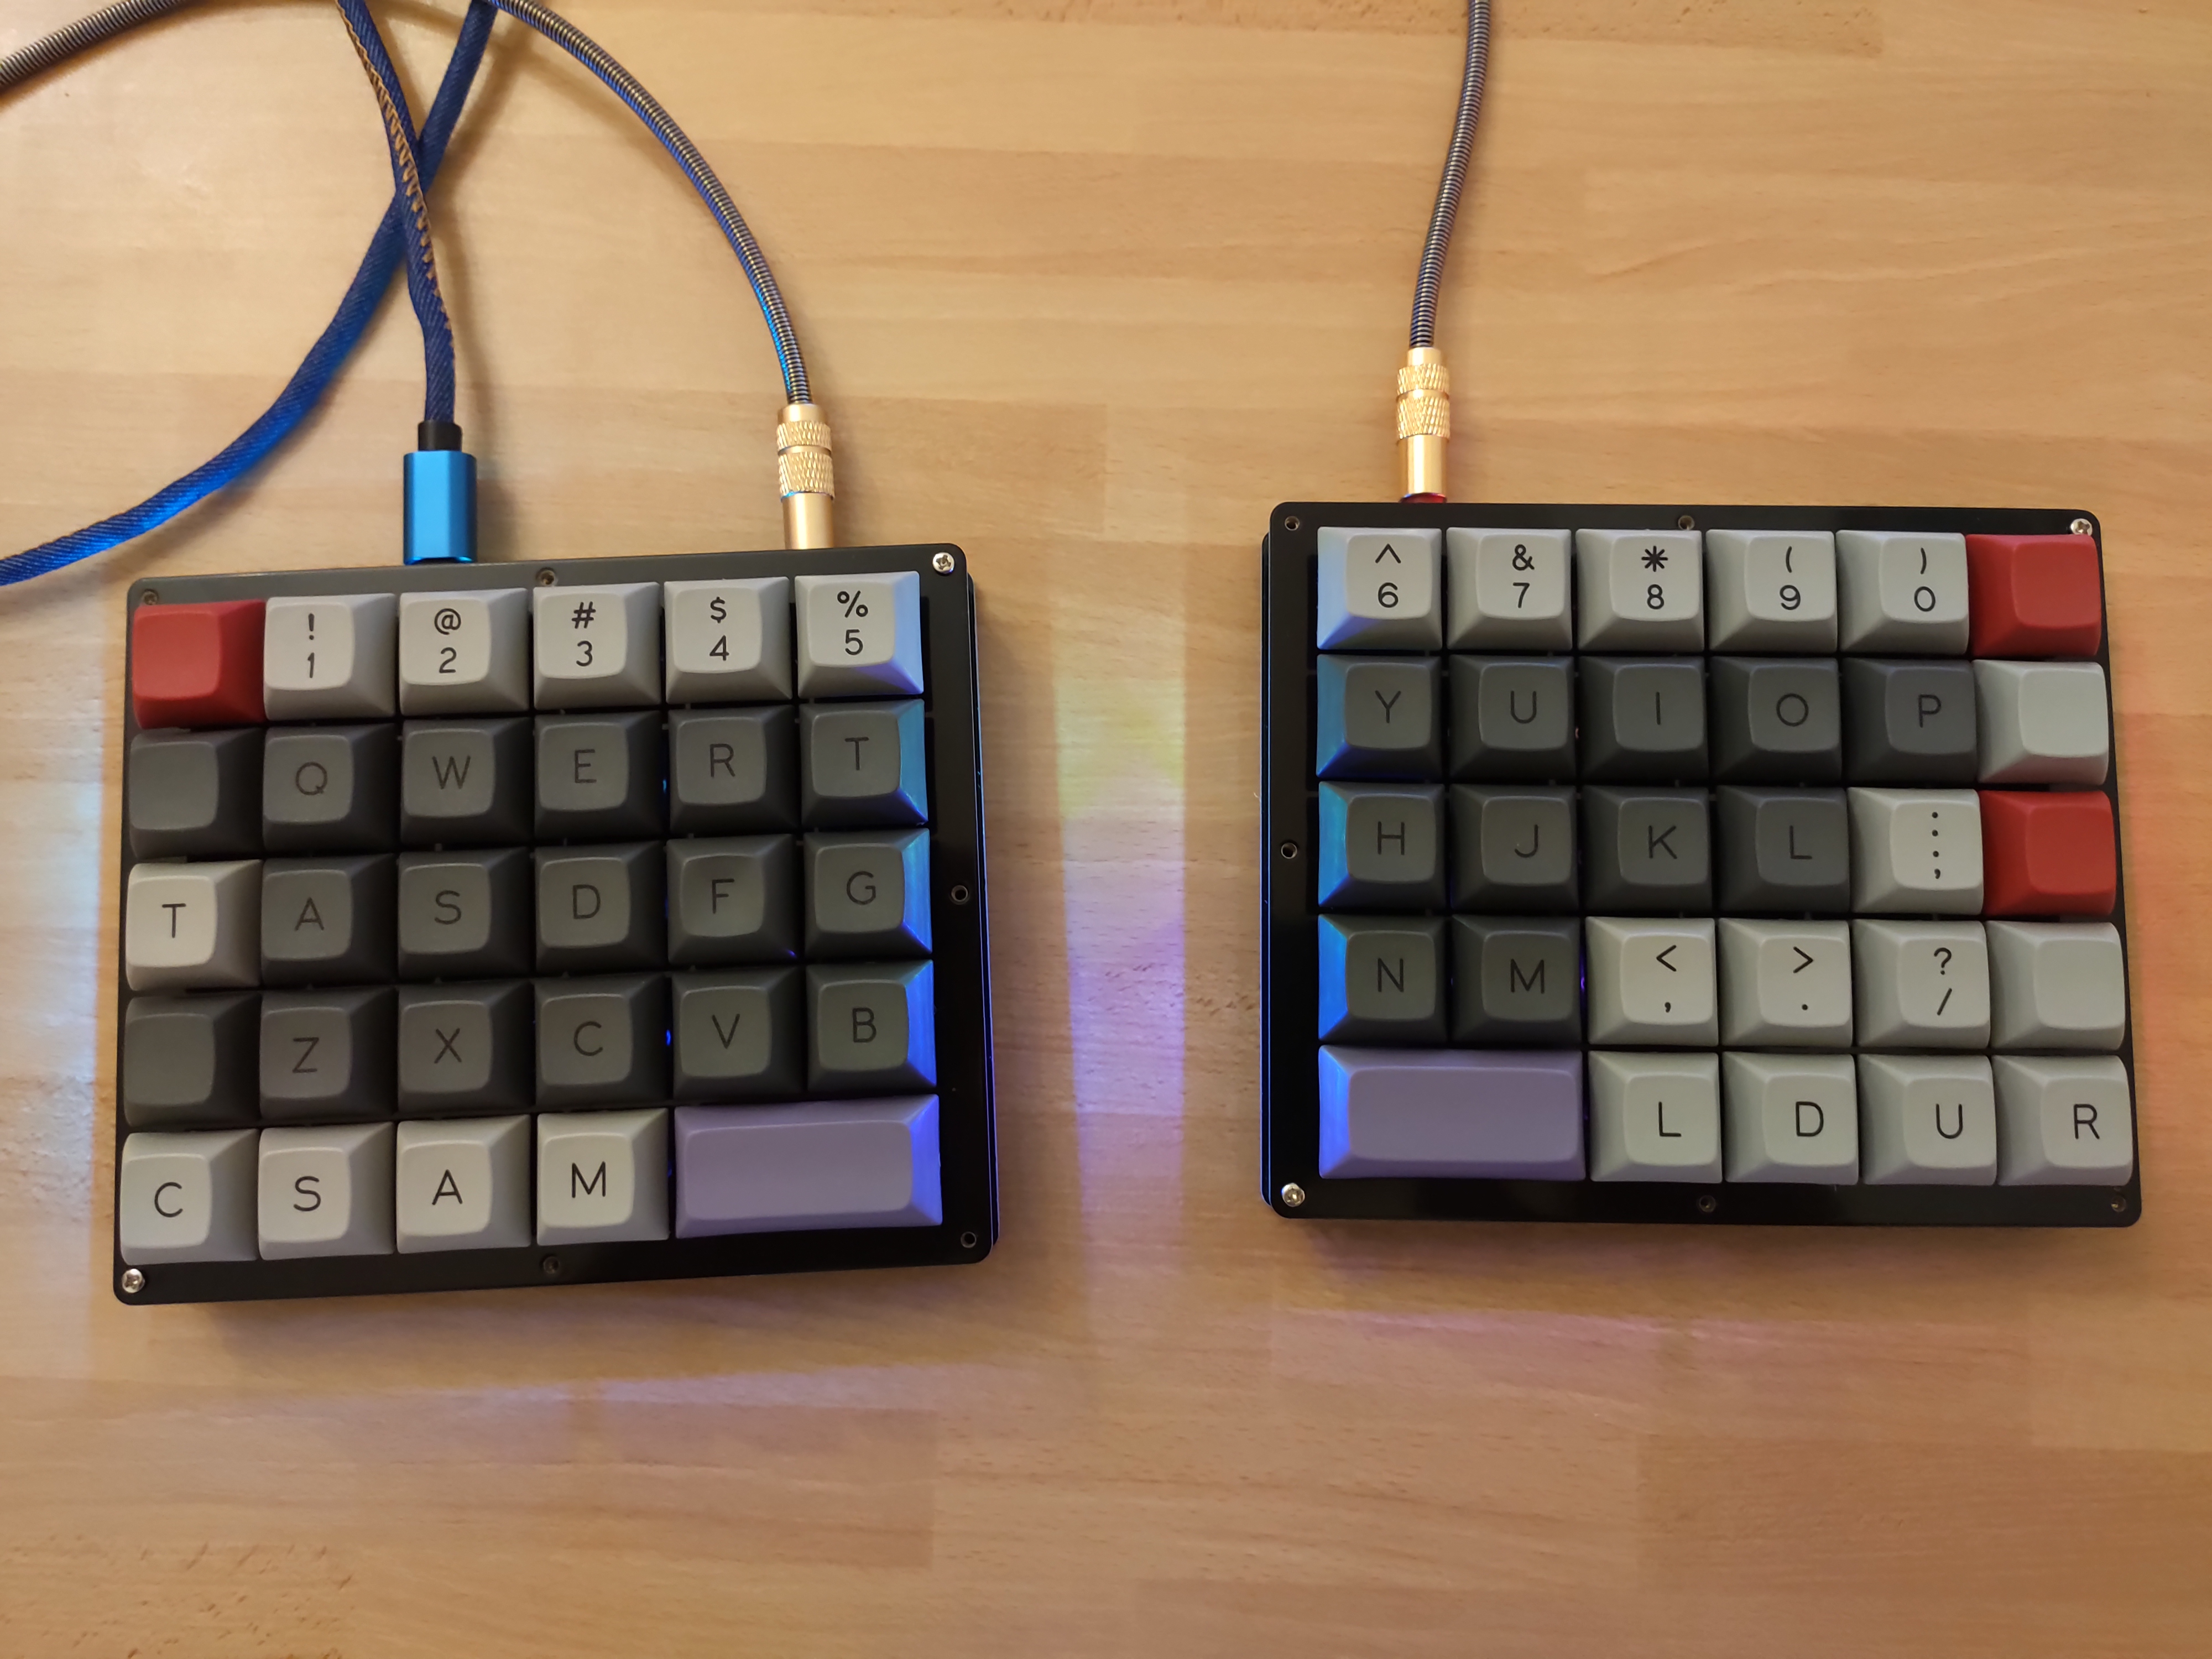
As you can see I had to be creative with some keycap labels, but more are on the way :)


